Ramping Deals Confidently in RCA: Clear Forecasts, Fewer Adjustments

Learn how Salesforce RCA ramped deals streamline multi-year quotes, reduce manual work, and give RevOps leaders clearer visibility and predictable revenue.
Why Breaking Work Into Bite-Sized Challenges Builds Smarter RevOps Teams

Break complex GTM work into small tests that reveal risks, improve forecasting, and strengthen your RevOps team.
The Salesforce and RevOps Stories of 2025 and What They Mean for 2026

Discover the biggest Salesforce and RevOps shifts of 2025 and what revenue leaders must do in 2026 to scale with confidence, clarity, and control.
Chrome Extensions to Give You That Extra Daily Boost in Salesforce

Discover the Chrome extensions our Salesforce experts actually use to work faster, cut everyday errors, and boost trust in your data and deployments.
How Gamifying Problem Solving Keeps GTM Teams Agile

Learn how regular simulation-based problem solving with your teams reduces risk, increases GTM agility, and builds forecast confidence inside complex technical environments.
What Revenue Leaders Need to Ask Before Trusting AI Forecasting
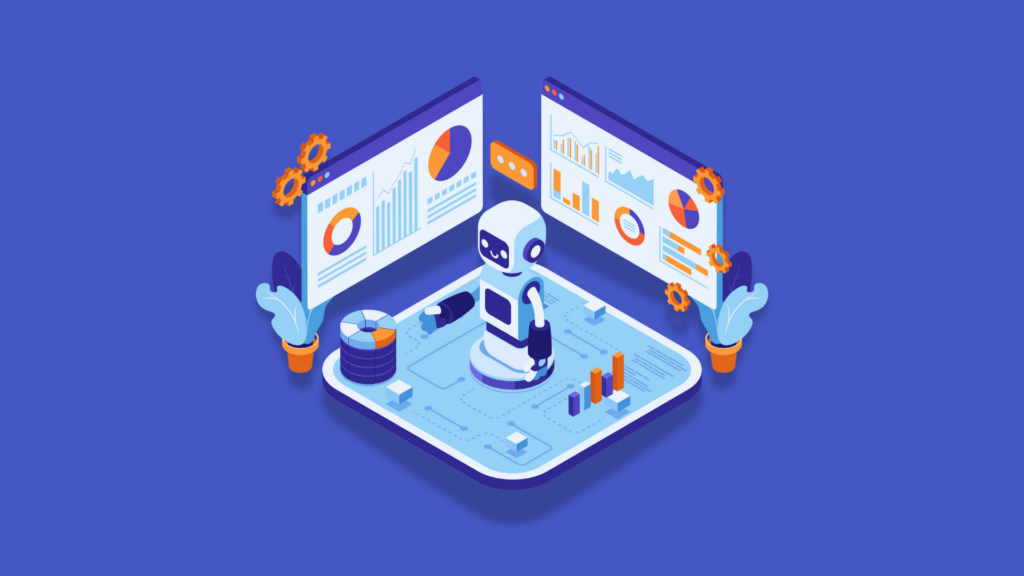
AI forecasting can improve revenue predictability, but only if leaders ask the right questions and validate data. Learn how to trust your forecasts. AI forecasts can feel like a co-pilot in your revenue engine, but are you steering or just following?
Data-Driven Business Development: Why Smarter Targeting Beats Hiring More SDRs

Why hiring more SDRs isn’t the pipeline fix it might seem to be at first. Learn how smarter targeting, better data design, and operational alignment can drive more revenue with fewer touches.
How System Design Choices Today Shape Your Ability to Pivot GTM Strategy Tomorrow

The system design decisions you make today will define how fast your company can adapt tomorrow. Here’s how RevOps teams can build flexible, scalable GTM systems, without overengineering.
What You Can Do Now to Start Prepping Your RevOps for 2026
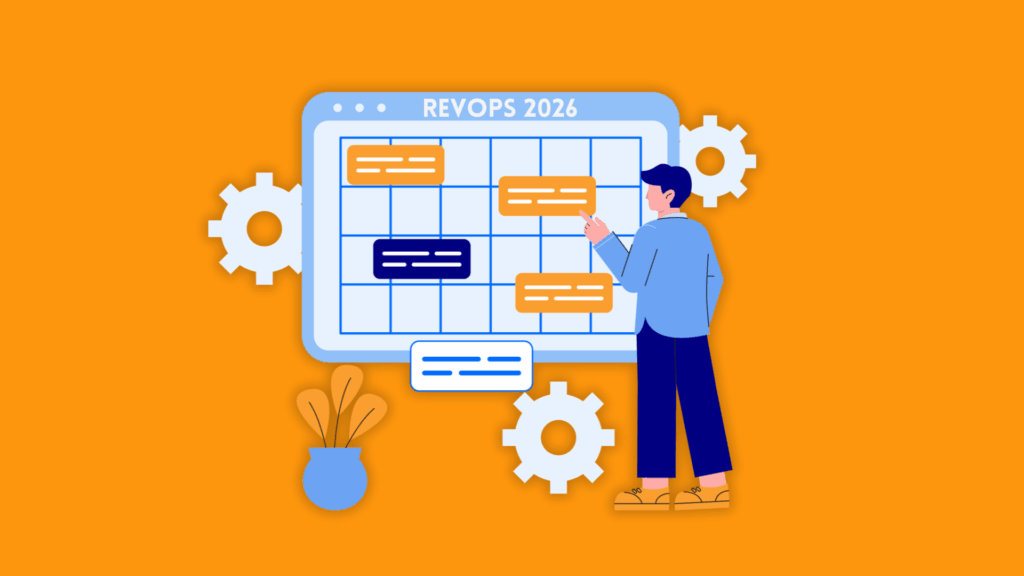
As 2025 wraps, it’s time to audit the health of your revenue engine. Here’s how to prep your RevOps now so you can scale faster, forecast better, and avoid costly delays in 2026.