What is a CPU timeout error?
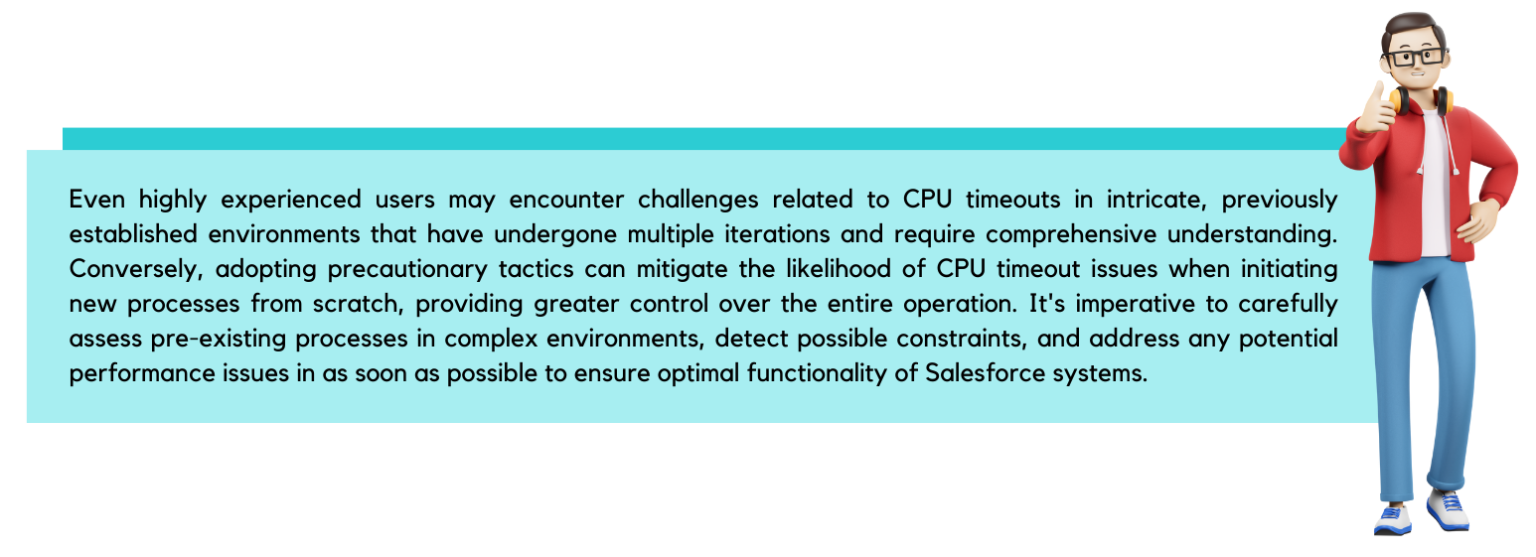
Salesforce limits CPU usage to 10 seconds for synchronous transactions and 60 seconds for asynchronous transactions. Seeing the error “Apex CPU time limit exceeded” means your transaction is taking too long and can’t be completed. It’s also likely a signal of greater problems in your system. It’s common to see this error when you’re inserting or updating records in Salesforce, particularly when tools, integrations, and automation are putting a strain on your system.
For a full list of what is counted towards your CPU usage and what’s not, check out this Salesforce article.

What’s Slowing Your System Down?
Unless you have a clear idea of what’s causing your CPU timeout error, you’ll need to conduct an audit to find its source. But, as we’ve said before, rather than systematically examining everything that’s going on in your system, it’s best to start where the problem is most likely to occur: on the creation of a lead, contact, or account.
Next, narrow your investigation to the types of actions that tend to create CPU timeout errors: database queries, process builders/workflow rules, and Apex code. By determining how long it’s taking your system to run each of these functions, you’ll then be able to identify which one is slowing it down.
Optimizing to Avoid CPU Timeout Errors
There are two primary situations in which a CPU timeout will occur. The first is that your processes are simple, but you’re processing too many records at once. In this case, the record count alone will force your code to hit the processing limit. To avoid this, process your manual inserts in smaller batches, schedule your automation to run only when and where you need it to, and control batch size in automated updates.
The more complicated scenario occurs when you’re processing a smaller number of records but the update is too complex for the system to handle within the CPU time limit. Below are examples of this issue, and how to avoid it.
Validation Rules
Truthfully, it’s uncommon for validation rules to cause “Apex CPU time limit exceeded” errors. But it can happen. When it does, it’s likely due to one of two reasons: either you have too many validation rules on a single object, or you have an excessive number of statements in a single validation rule. Eliminate these issues and your validation rules will run error free.
Process Builders
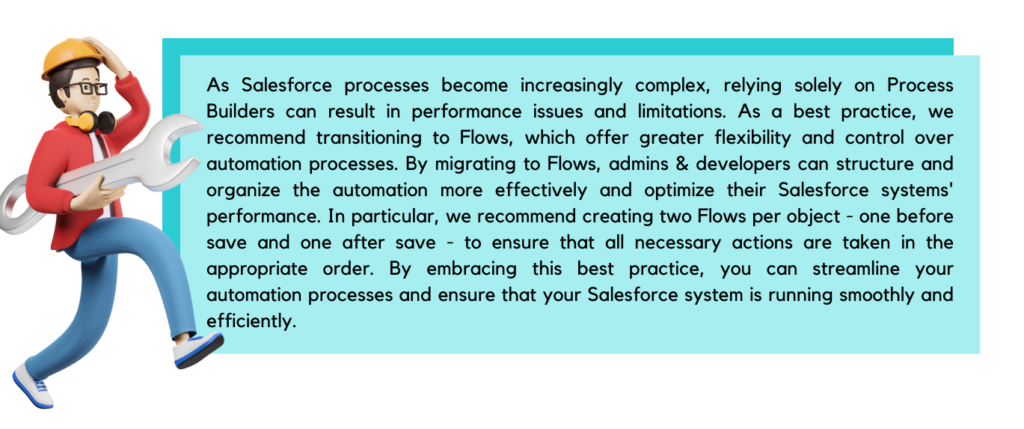
By far the most common reason that process builder causes CPU timeout errors is having multiple process builders on one object. It’s a best practice for process builders to have only one per Salesforce object. Alternatively, CPU timeout errors can happen when process builders are not firing on selective events, which can create a volume issue unnecessarily.
In either situation, consider migrating your automation from process builder to an Apex trigger. Triggers can work much faster and will be less likely to cause an error.

Flows
CPU timeout errors can occur when automation processes become too complex or trigger back-to-back, causing issues such as recursion, unnecessary record imports, and missed events. If you’re using flows that happen after save instead of using the before save flow feature, you may run into a CPU timeout error. To minimize the risk of these errors occurring during the maintenance stage, it’s crucial to build out your processes in a structured manner, with an organizational strategy for your flows that is consistent and easily transferable. A logical and thoughtful approach to automation can also help reduce the likelihood of CPU timeouts. Fortunately, recent updates to Salesforce now allows users/developers to set the firing order of flows and subflows, providing more control over automation processes. Additionally, it’s essential to be conscious of what is being triggered through your flows, ensuring that you don’t have multiple calls to certain objects. If you want your flows to fire before insert, you’ll need to migrate existing flows to this model and select the “before save” option upon creation of your flow.
Apex Code
There are many situations in which Apex causes an “Apex CPU time limit exceeded” error. Here are the most common scenarios.
- A circular update between two objects. This will cause a never-ending execution of Apex and a CPU timeout.
- Too much processing in a before trigger. Try moving processing to an after trigger.
- Too many nested loops. Loops more than two layers deep can sharply increase CPU time. Try using more code blocks instead of doing too much in a single set of nested loops.
- Recursion. Having an update call the same update trigger more than once within one transaction can cause problems.
- Querying and updating the same object many times. Instead, do one update on one object.
- Too many triggers. Limit how many triggers you’re firing on one update.
- Architecture issues. Multiple fields being tracked on an object like timestamps to track when different fields are updated could be all moved to a related object instead so that the related object is modified, offloading processing on an object that might already have a lot happening to it
Packages
When implementing both managed and unmanaged packages, it’s essential to take limit considerations into account, especially if you are using a couple packages simultaneously. Combining packages may cause conflicts and performance issues, leading to CPU Timeout errors. To avoid these problems, it’s crucial to thoroughly evaluate the compatibility of the packages before implementation and ensure that they are used appropriately. By taking a thoughtful and strategic approach to managing packages, you can help prevent CPU Timeout errors and ensure the smooth functioning of your Salesforce system.

-
Automation Best Practices
Whether you’ve hit a CPU timeout error recently or not, it’s important to choose the right type of automation in Salesforce and follow best practices in your Salesforce automation. Check out some of our other previous posts on automation best practices.
